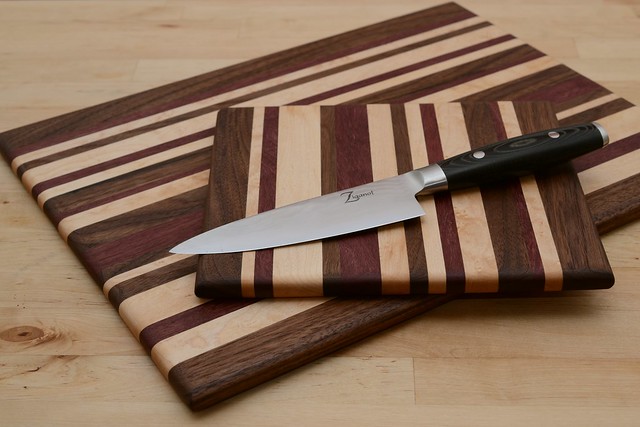
Pair of random-strip chopping boards:

I was really proud of how these turned out. Here's what I did:
- Start with boards of different coloured wood. I used walnut, purpleheart and maple.
- Plane them all to the same thickness. Tip: run all the boards through the planer without changing its height, you won't be able to find the precise height a second time.
- Rip to random widths using the table saw. Start by ripping thin widths ff the side while the board is still wide; it's much easier than trying to split a thin strip into two.
- Spend plenty of time arranging the pieces for the best effect. I think I spent more than 30 minutes on this step and I feel like it paid off.
- Glue and clamp (I used Titebond III). Tip: the ten-minute working time of the glue passes very quickly; try a dry fit first and consider gluing the board up in two halves and then gluing them together. I wasn't quite quick enough on the bigger board and the first joint wasn't as tight as it should be.
- Plane the glued up board.
- Cross-cut on the table saw to trim the ends.
- Use round-over bit in the table router to round over the corners. Tips:
- If your boards are as thin as mine, use the fence rather than a bearing to set the round-over distance. If you don't, the bearing will be in empty space when you flip the boards over to do the second side.
- Do the endgrain first.
- Follow the piece with a scrap block to prevent tearout.
- Sand to desired grit.
- Finish with butchers block oil.
Christmas snowman ornament:

This is one of my favourite turnings. I finally got the hang of cutting beads and then finished him off with a pyro pen and a purpleheart hat.
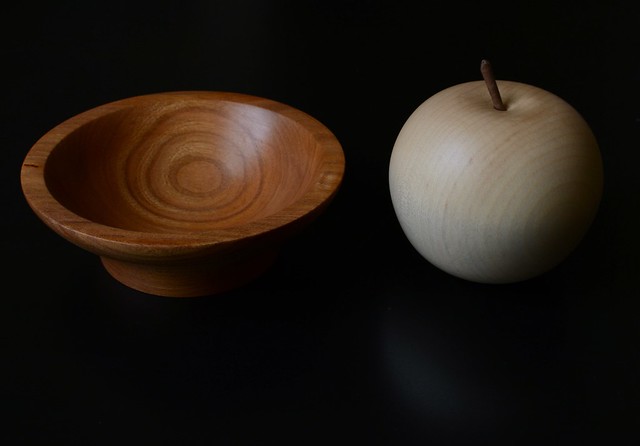
A bowl and turned apple:

Those really look nice Shaun. I didn't realize Titebond III setup so quickly.
ReplyDeleteThanks. Yes, iirc it has a 10 min open assembly time, then 20 minute closed assembly time. However, if you only clamp towards the end of the 20 mins then I found I didn't get a good glue bead.
Delete